Working With Spaces
The “team work” concept becomes very familiar in business environment. By establishing one specific team or group, you and your collaborators can work together on important projects. Based on the importance of team working, eXo Platform develops the Space application, allowing you to collaborate with specific people. The scope of using spaces is so flexible that can be applied for teams, themes, communities or any kind of informal groups to your business requirements. For example, if you want to work on a team project, you can create a space for your team members to make organizations, share links and information related to the project.
This chapter covers the following topics:
How to access a space and its page via its URL.
How to define a space banner and avatar.
Steps to create a new space with new settings, permission and members.
Ways to access Space Settings and steps to modify the space information and visibility, to manage members and space applications, or to manage space navigation bar.
How to join/leave a space, or to revoke your request.
How to delete a space where you are the manager.
Accepting/Ignoring invitations
Steps to accept or ignore a request/invitation.
How to share content in a space.
Accessing a space
After logging in eXo Platform successfully, you will see a list of your spaces under MY SPACES on the left pane of the page.
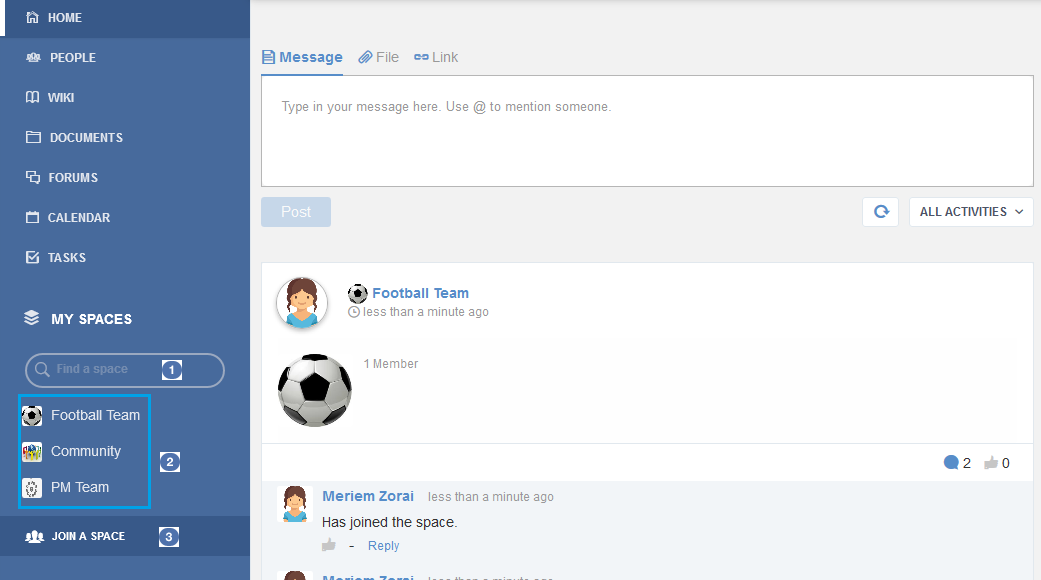
Details:
 The Search box which allows you to quickly search for a
space from your spaces list.
The Search box which allows you to quickly search for a
space from your spaces list. The list of spaces where you are a member or manager.
 Allows you to access the Spaces page which displays all the
spaces in the portal. Here, you can quickly join a space or search
for your desired space.
Allows you to access the Spaces page which displays all the
spaces in the portal. Here, you can quickly join a space or search
for your desired space.
Note
You can also see all your spaces by directly clicking the
link or clicking Join a space to open the Spaces page, then selecting the My Spaces tab.

The Space navigation includes the following tabs:
- All Spaces: All spaces, including your spaces, visible spaces, and hidden spaces where you are invited to become members.
- My Spaces: Spaces where you are a member or manager.
- Invitations Received: Spaces where you are invited to become members by space managers.
- Requests Pending: Spaces where you have requested for becoming their members.
To access a specific space, just click the space name.
Tip
You can quickly find out your desired space from the list of your spaces by typing its name/description into the Search Spaces box on the left pane or using the Search feature in the Space application. See the Searching for spaces <Search-Space section for more details.
Accessing via URL
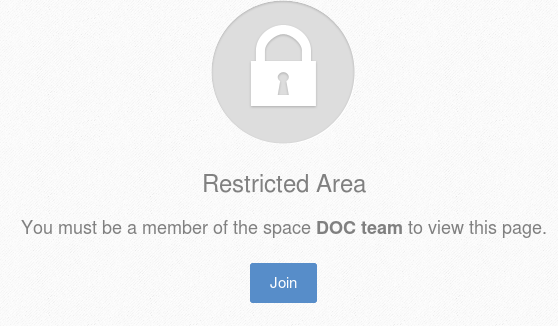
When you try to access a space or a space page via its URL while you are not its member yet, you will receive various instructions as follows:
For an Open space, click Join to join that space first.
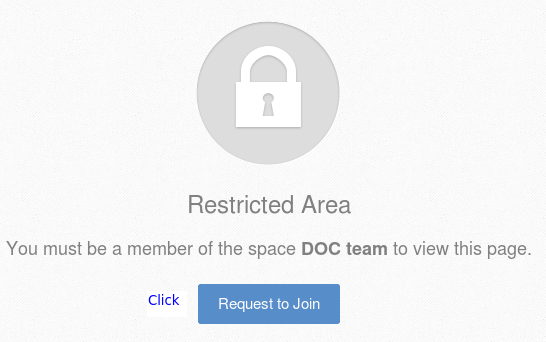
For a Visible space with Validation Registration, click Request to Join to send the join request first.
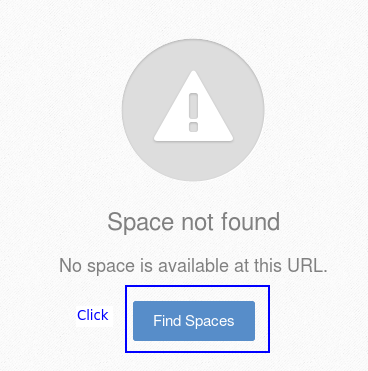
For a Hidden or Not existing space, click Find Spaces to open the All Spaces page.
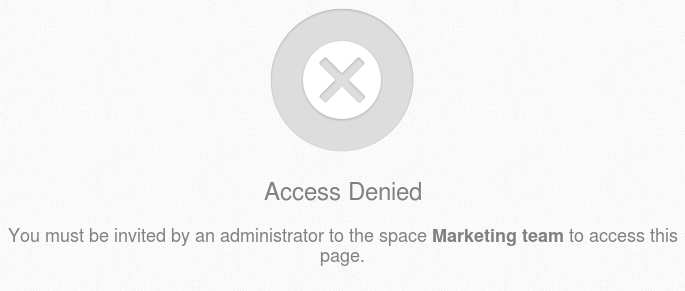
For a Closed space, you just can access it when being invited by your administrator.
Note
Super User, who has the highest permission, can see and access all spaces for the administration purpose.
Space banner and avatar
After creating a space, by default it has the default banner (in grey color) and the default space’s icon. You can choose different images for the banner and the avatar.
Space banner
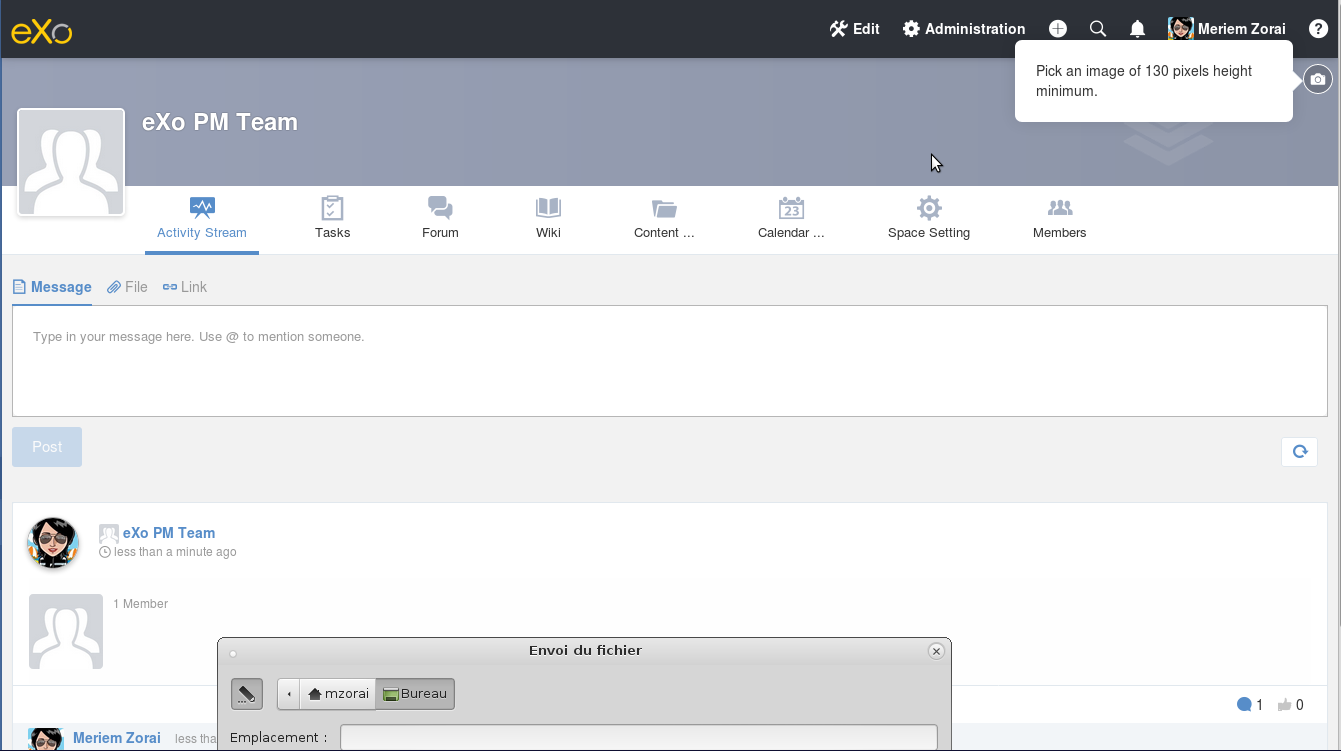
To change the banner just mouse over in the top right corner of the
space banner, an icon ![]() and a tooltip will appear.
and a tooltip will appear.
When you click on the icon ![]() , an
, an Update button appears
allowing you to pick up an image from your computer.
The tooltip indicates you the banner size which should be 130 pixels height minimum.
Having chosen the banner and if you click again on the button ![]() in the top right, two buttons appear:
in the top right, two buttons appear:
![]()
Update: Allows you to pick up another banner image from your computer.Reset: Allows you to delete the current banner image and restore the default grey banner.
Space avatar
Same as for the banner, you can choose an another space avatar, just click on
![]() and an
and an Upload button appears allowing you to pick up an image
from your hard disk:
![]()
Pick up an image by double-clicking on it. The image will be loaded in the space’s avatar.
After setting a space avtar, when you click again on ![]() , you can:
, you can:
Updatethe image by selecting an another one from your computer orResetto restore the default space icon.
![]()
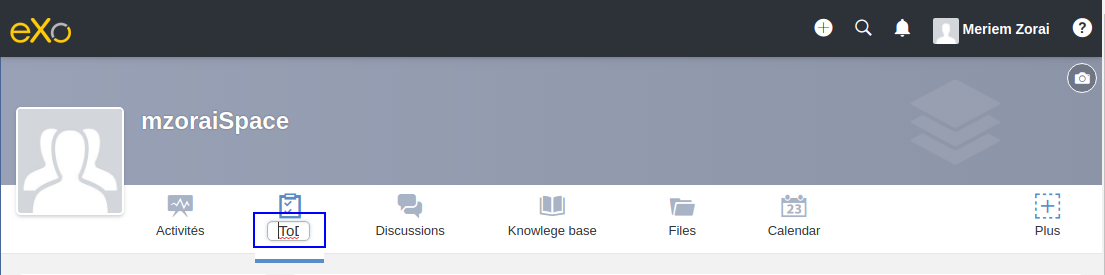
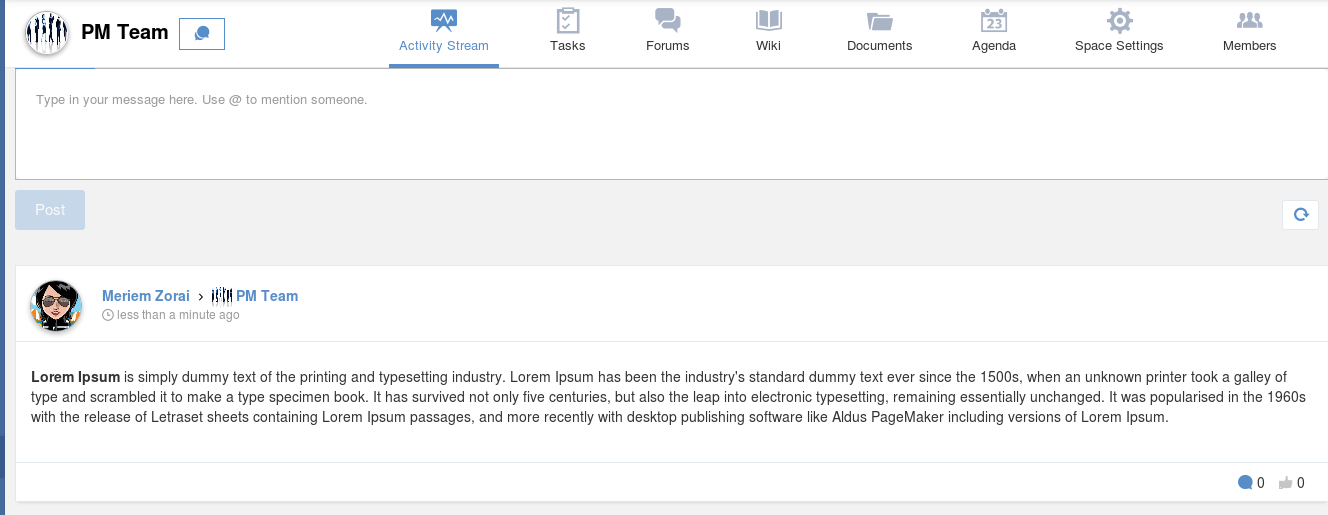
When scrolling down in the space’s activity stream and when you exceed the cover section limit, the banner image is collapsed and a new space’s navigation bar still appear. It allows you to see all the space’s tabs.
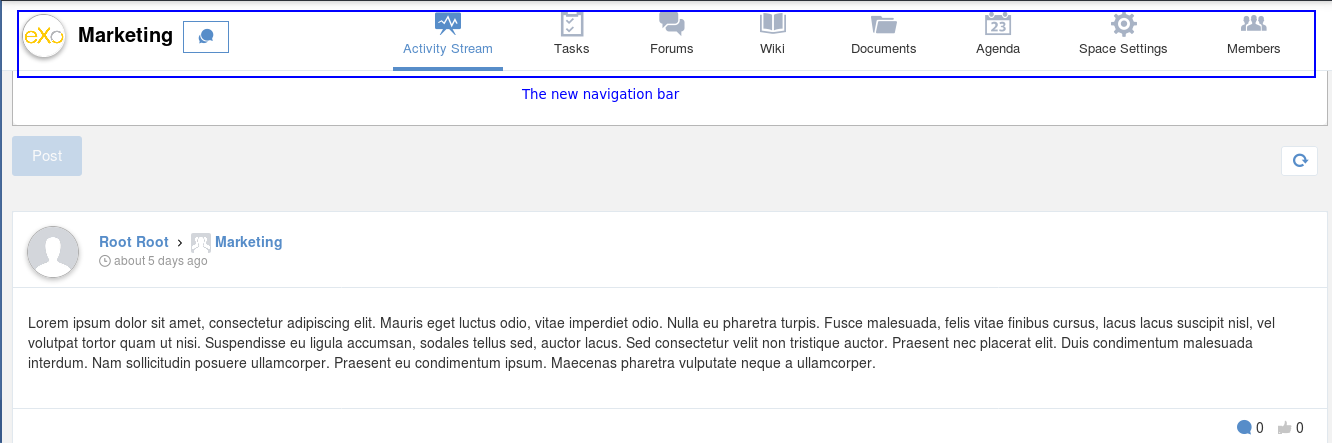
The new navigation bar contains:
The space’s avatar in a cercle form.
The space’s name allowing you to know in which space you are.
The chat button allowing you to start a conversation with the space’s members.
The space’s applications.
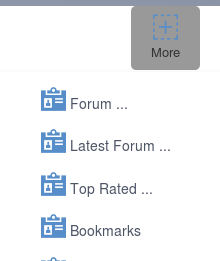
The More button
 appears when the number of applications
exceeds the number that the navigation bar is able to display or when
the spae’s name is long.
appears when the number of applications
exceeds the number that the navigation bar is able to display or when
the spae’s name is long.
Clicking on it displays the list of the remaining applications.
In mobile devices, applications navigation bar is scrollable right and left.
Creating a space
After going to the Spaces page, you can add a new space so that you and your collaborators can work together or discuss specific topics as follows:
- Click
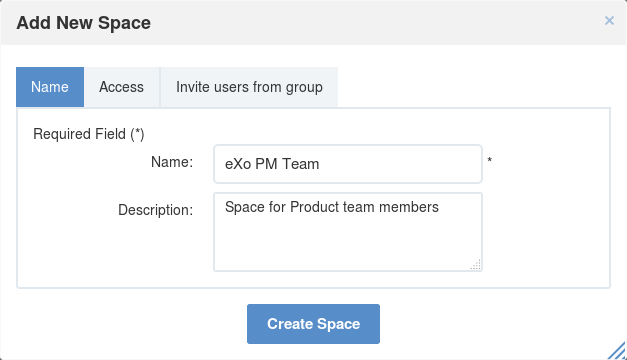
 at the top left corner of the Space page to open the Add New Space form.
 - In the Settings tab, enter a space name (required and from 3 to 30 characters) and description (from 0 to 255 characters).
- In the Access & Edit tab, select an access level.
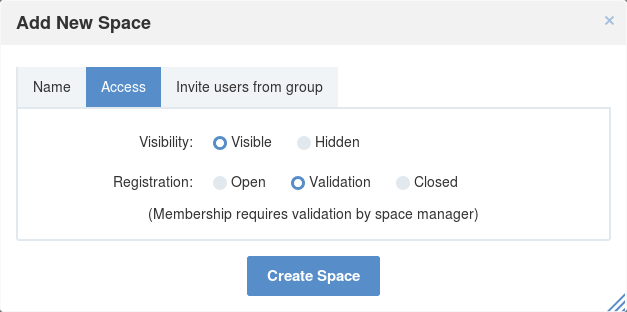
Visibility: By default, the Visibility value is set to be Visible.
- Visible: The space is always visible in the public spaces list.
- Hidden: The space is not visible in the public spaces list.
Registration: By default, the Registration value is set as Validation.
- Open: The users sending their requests can join the space without any validation.
- Validation: The membership must be validated by the space manager.
- Close: The user cannot request for joining, but only the space manager can invite him.
4. In the Invite users from group tab, select all members of a specific group for your space where you are already ‘manager’.
One of the two following cases occurs when you select this tab.
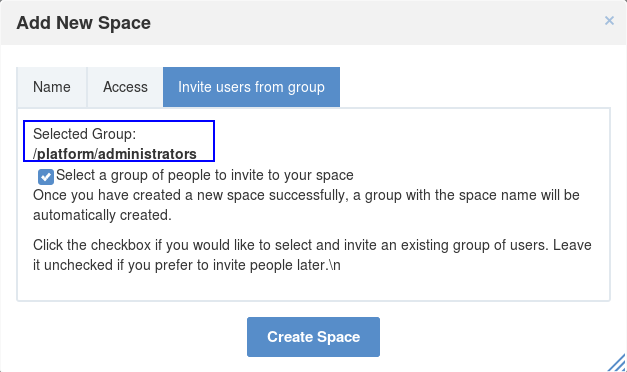
The first instance: You have been already the manager of a group. It means that you have created at least a space.
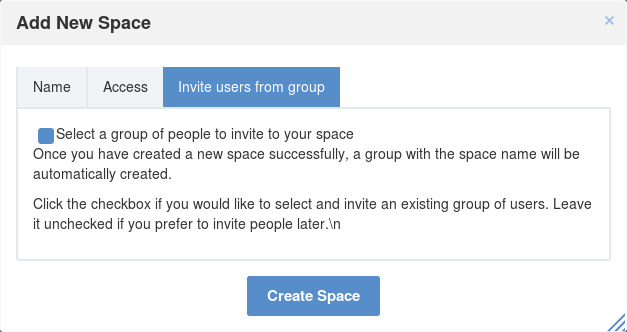
- i. Tick the Select a group of people to invite in your space checkbox to open the form below.
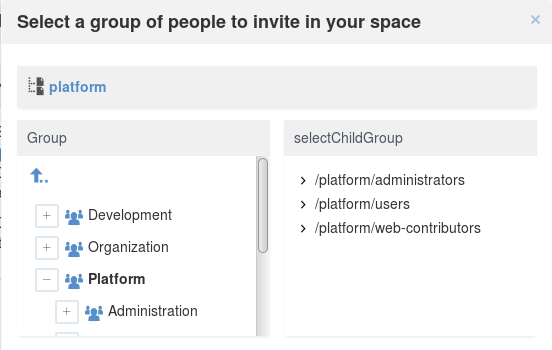
ii. Select the group in the left pane, then its child group in the right pane.
You will see your selected group as below.
Note
To remove the selected groups, untick the Select a group of people to invite in your space checkbox.
After you have selected one existing group, all users in that group will be invited to join your newly created space.
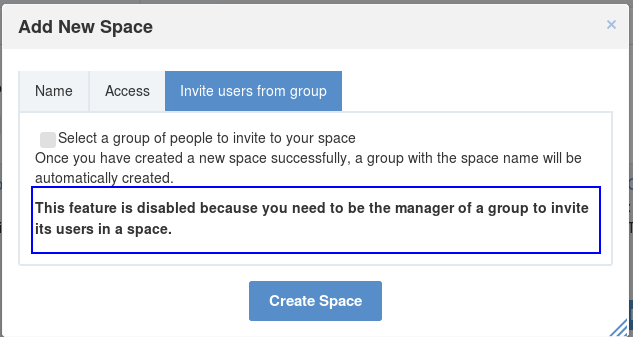
The second instance: You have not been a manager of any group yet. It means that this is the first time you create a space, so you cannot select a target group.
- Click Create Space button to finish adding your new space. The new space appears.
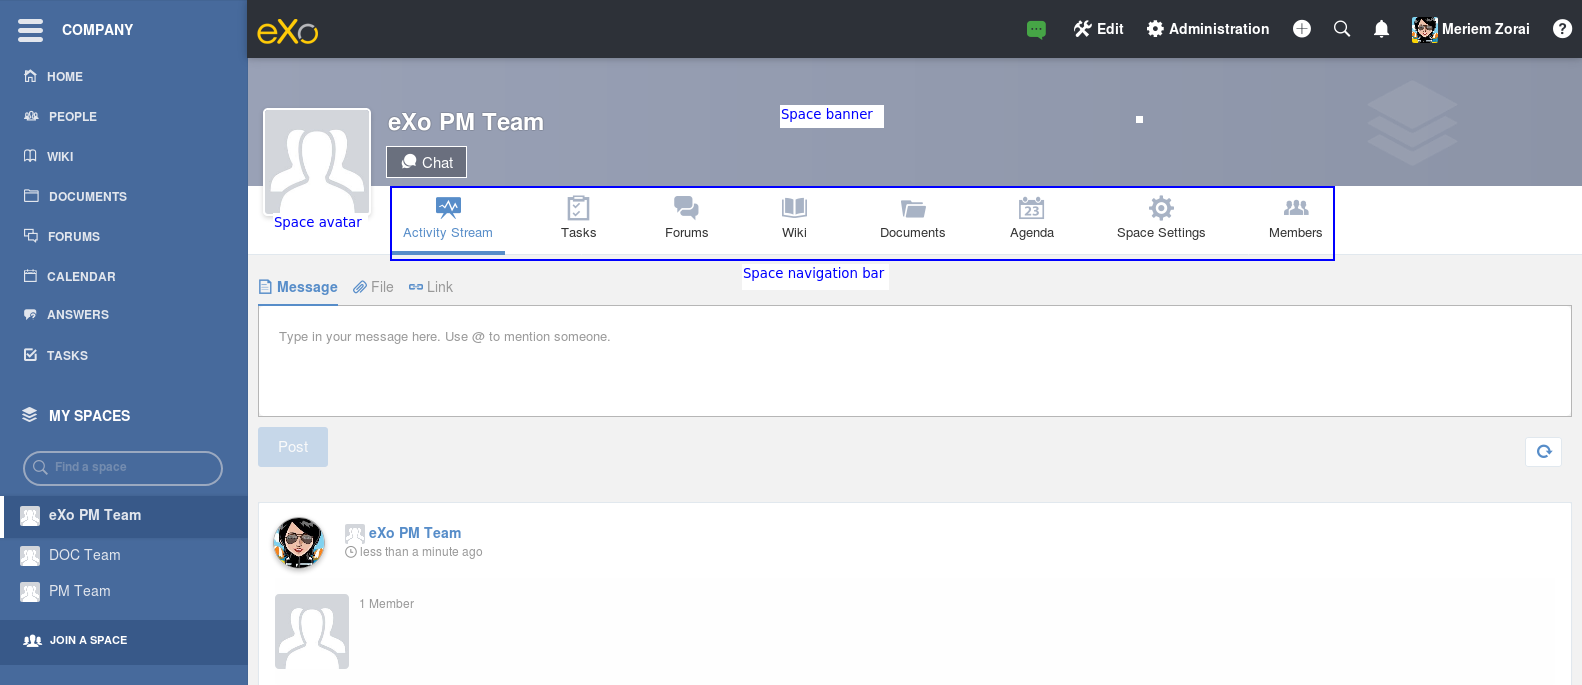
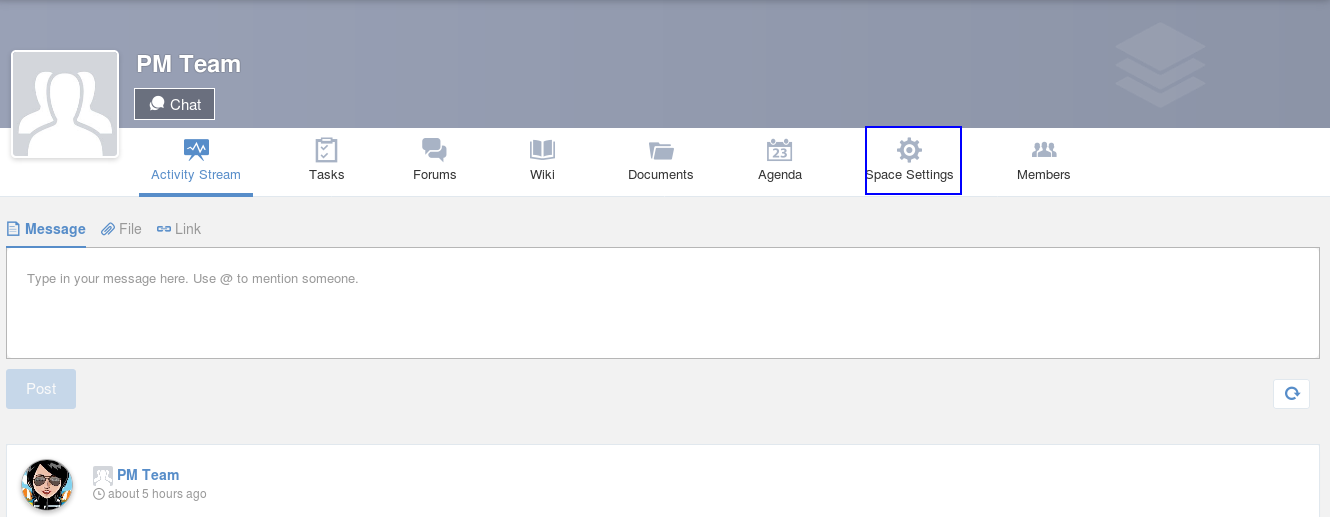
By default, the space banner is grey (it is empty) and the space avatar contains the general space image:
You can redefine the space banner and the space avatar by mousing over and then clicking on
allowing you to pick an image from your computer.
More details about how to redefine space banner and profile here.
Space applications
By default, the space is featured with some default applications pages on the space navigation bar. Simply click each application to use its functions. See Managing space navigation bar for more details.
- Activity Stream: Displays changes on the space information and all the activities of space members. See Using the Activity Stream for more details.
- Forums: Allows space members to exchange their opinions on a subject. See Building Your Forum for more details.
- Wiki: Allows space members to work on the same Wiki pages of the space, such as editing a Wiki page. See Working With Wikis for more details.
- Documents: Allows space members to work on the same documents, such as editing a document in the space. See Managing Your Documents for more details.
- Agenda: Allows space members to create/edit the same events/tasks in the space calendar. See Managing Your Calendars for more details.
- Space Settings: Allows the space manager only to edit the space. This application is invisible to space members, except the space manager. See Managing space settings to know how to edit a space.
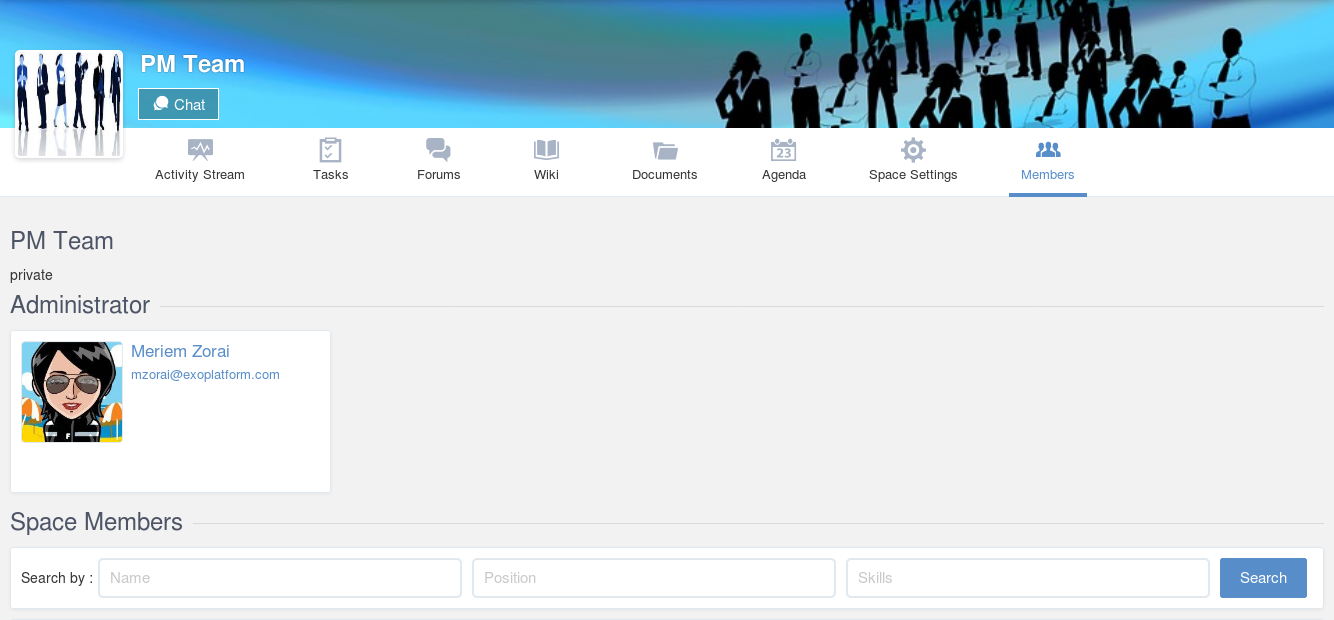
- Members: Displays the list of space members.
Note
When accessing the Members application of the space, you will see a list of space members. If there are so many members, the Show More bar will appear at the page bottom. Click Show More to see more members.
Others
When a new space is created:
A forum with the same name as this space is also created in the Forums application of the portal. In case this forum is removed from the Forums application, all members of the space cannot see the space’s forum anymore when clicking Forums on the navigation bar of space.
A group calendar with the same name as the space is also created under the Group Calendars in the Calendar application of the portal.
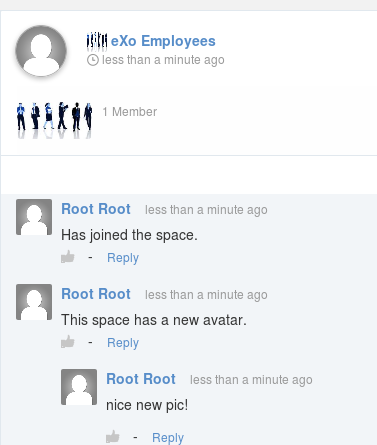
An activity is created on the Activity Stream and a comment is added to the activity and informs that you have just joined the space. In case you or other space members left the space, the number of the space members will be updated to the activity.
Note
When more than two space characters are input between words in the space name, these spaces will be converted to ONLY ONE space when being displayed. With space characters at the beginning and end of space names, these space characters will be also omitted. After being created, your space will be automatically added to the list of MY SPACES on the left panel. Therefore, you can access your space by clicking its name.
Managing space settings
If you are the creator or have the Manage permission on a space, you can manage its initial settings in Space Settings, including:
To edit a space, access the Space Settings page first by following one of 2 ways:
The first way
Access your desired space, then select Space Settings on the space navigation bar.
The second way
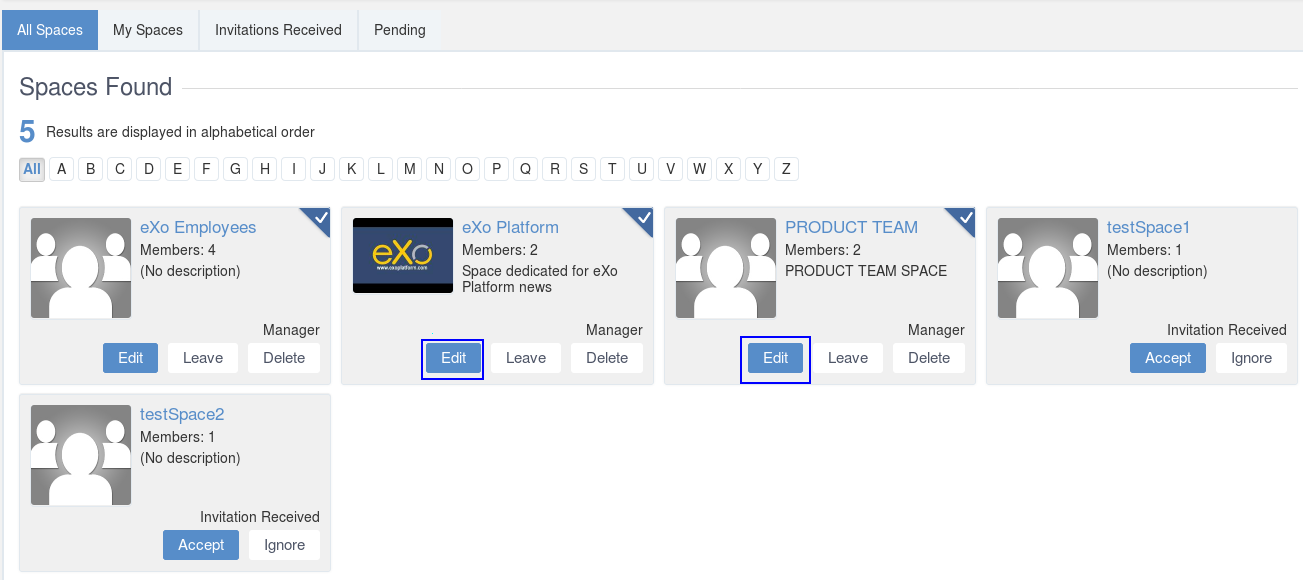
Go to the Spaces page <note-access-spaces-page>, then select the All Spaces or My Spaces tab.
Click Edit under the space name which you want to edit.
Changing space information/visibility
Changing space information
This function allows you to edit the basic information of a space.
- Select the Settings tab in the Space Settings page.
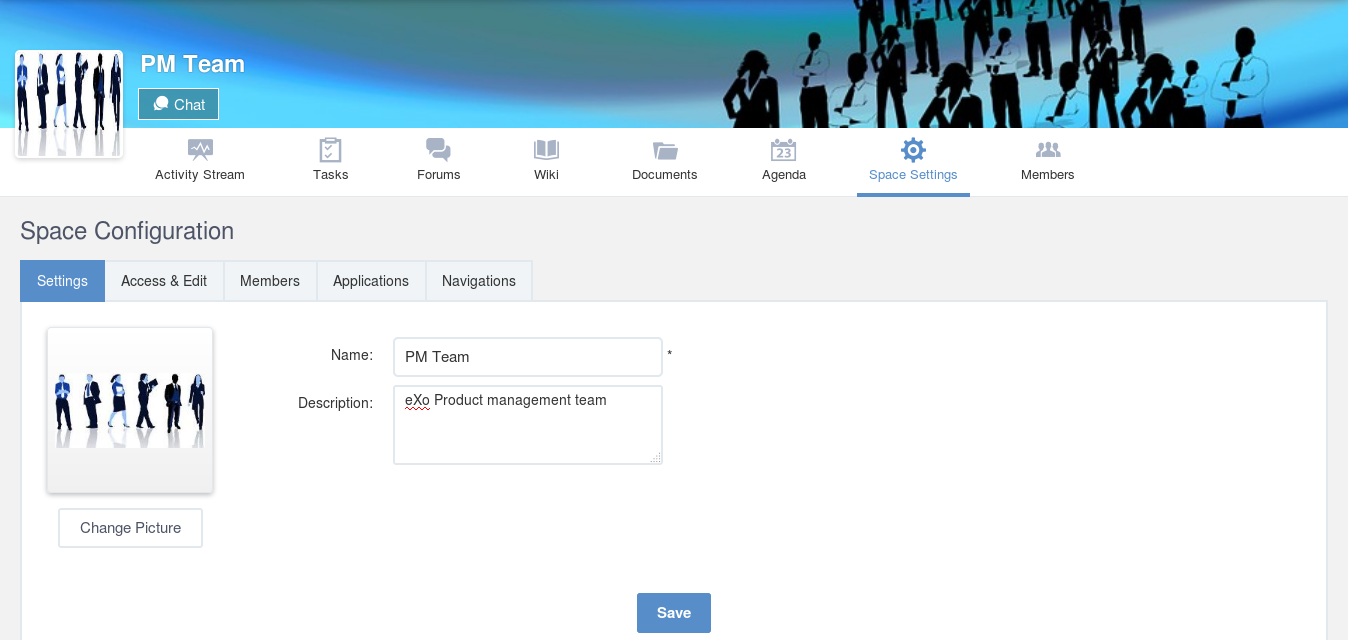
- Change information in the Name, Description fields and the space avatar.
- To change the space avatar, click Change Picture below the avatar to open the Upload an Image form. See Uploading your avatar for more details.
- Click Save to accept your changes.
Managing members
Select the Members tab in Space Settings page.
Here, you can do many actions on members as follows:
Inviting new members
You can invite other users to join your spaces as follows:
Inviting users
The first way
If you know the username of a person, simply enter his/her username in the textbox, then click Invite.
To invite multiple people, use commas to separate your multiple entered usernames.
The second way
- Click
 to open the Select Users form.
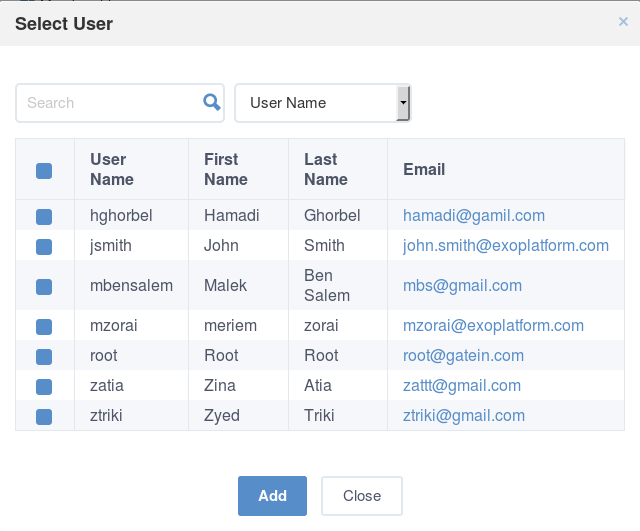
- Select your desired users by ticking their corresponding checkboxes, and click Add.
You can also search for your desired members in eXo Platform, do as follows:
- i. Enter a search term into the Search box.
- ii. Select a criterion you want to find in the combo box next to the Search box.
- iii. Click
 or press Enter to perform searching.
- Click Invite to invite your selected users.
- Click
The third way
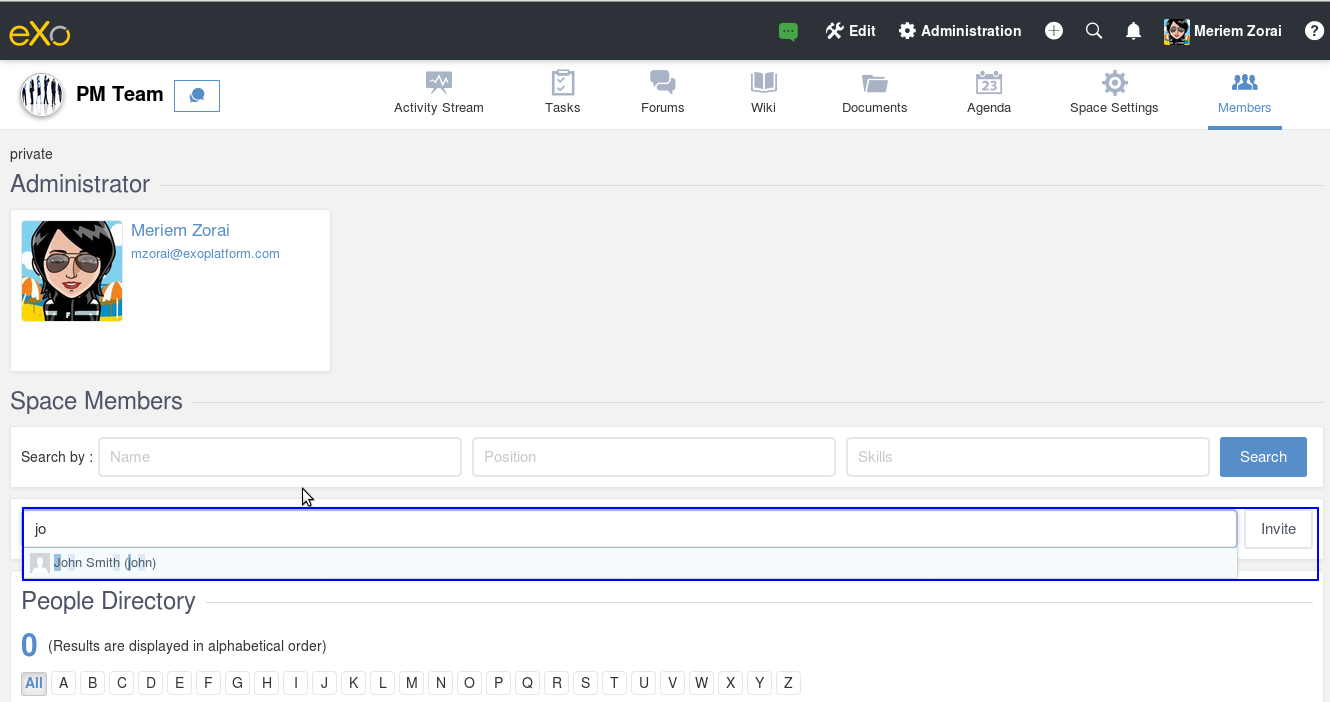
- Go to Members application of the space.
2.
Enter the username of the person you wish to invite to
the space. You can just type in the first letters and a list of
suggestions should appear. This list contains persons having those
letters in their username, First name or Last name. Press Enter on
keyboard to confirm the user selection.If you entered a wrong username (i.e it doesn’t exist), it gets underlined in red:
3.
 Choose one or more persons to invite from the list. You
can remove some persons by just clicking on in front of
the displayed named.
Choose one or more persons to invite from the list. You
can remove some persons by just clicking on in front of
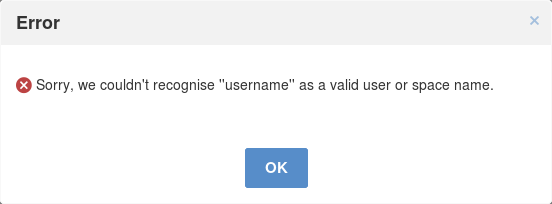
the displayed named.4.
 Click on Invite to send invitations to the chosen
persons.
Click on Invite to send invitations to the chosen
persons.If you press on Enter to confirm a wrong username and then click on Invite, an error pop up appears indicating that the selected username is not valid.
Inviting users from a group
- Click
 to open the Select a Group form.
 - Select a group on the left pane, then select its sub-group on the right pane.
- Click Invite to invite your selected group.
- Click
After that, you will see the list of invited users. The invitees will see your invitations in the Invitations application at the right panel of their homepage.
Revoking your invitations
If the invited users have not accepted your requests yet, you can revoke
your invitations by clicking ![]() corresponding to the users’ name.
The users will be removed from the Invited list.
corresponding to the users’ name.
The users will be removed from the Invited list.
Validating/Declining request
As a manager or creator of a space, you can validate other users’ requests for joining your space.
- To accept a user’s request for joining your space, click
 in
the Action column.
in
the Action column. - To decline a user’s request for joining your space, click
 in the Action column.
Promoting/Demoting a member
- To promote a member to the manager position, click
 in the
Manager column. The user will be automatically promoted as a manager
in the current space.
in the
Manager column. The user will be automatically promoted as a manager
in the current space. - To demote a member, click
 .
.
Note
Be careful not to remove the rights for yourself; otherwise, you will not be able to change your space’s settings anymore. Besides, there should be at least one manager in a space, so the last manager of the space is not permitted to be demoted.
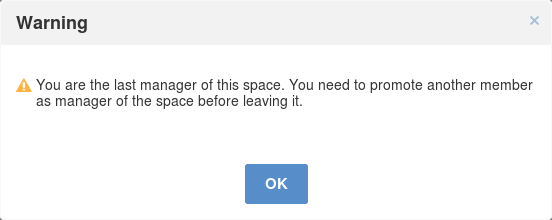
Removing a member
Click ![]() corresponding to the member you want to delete in the
Members list. In case this member is the only manager of the space,
there will be a warning like this:
corresponding to the member you want to delete in the
Members list. In case this member is the only manager of the space,
there will be a warning like this:
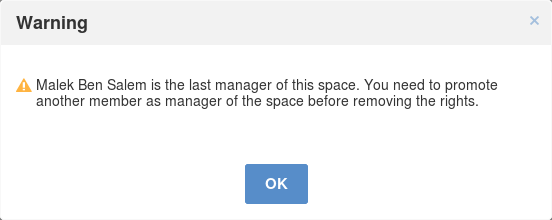
That is, you should promote another member to the manager position before you can delete that member.
Managing space applications
Select the Applications tab to go the Applications page which allows you to manage space applications.
Here, you can:
Adding a new space application
- Click Add Application to open the Space Application Installer form.
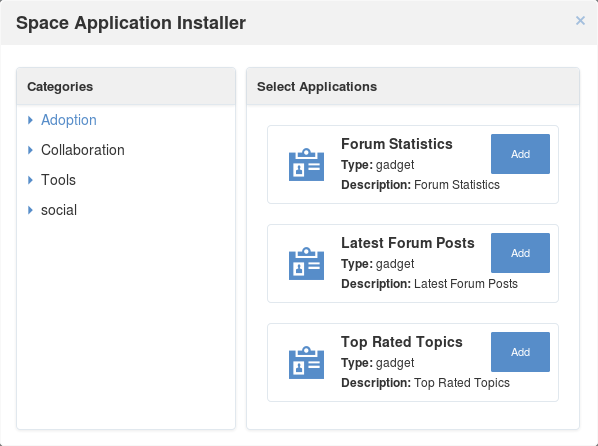
2. Click a category on the left panel to show its applications on the right panel, then select the application you want to add by clicking Add corresponding to it.
If there is no available application, ask your system administrator to gain the access right.
Renaming an application
As manager of a space, you are allowed to rename its applications except the Activity Stream. To rename an application, simply double-click on its name:
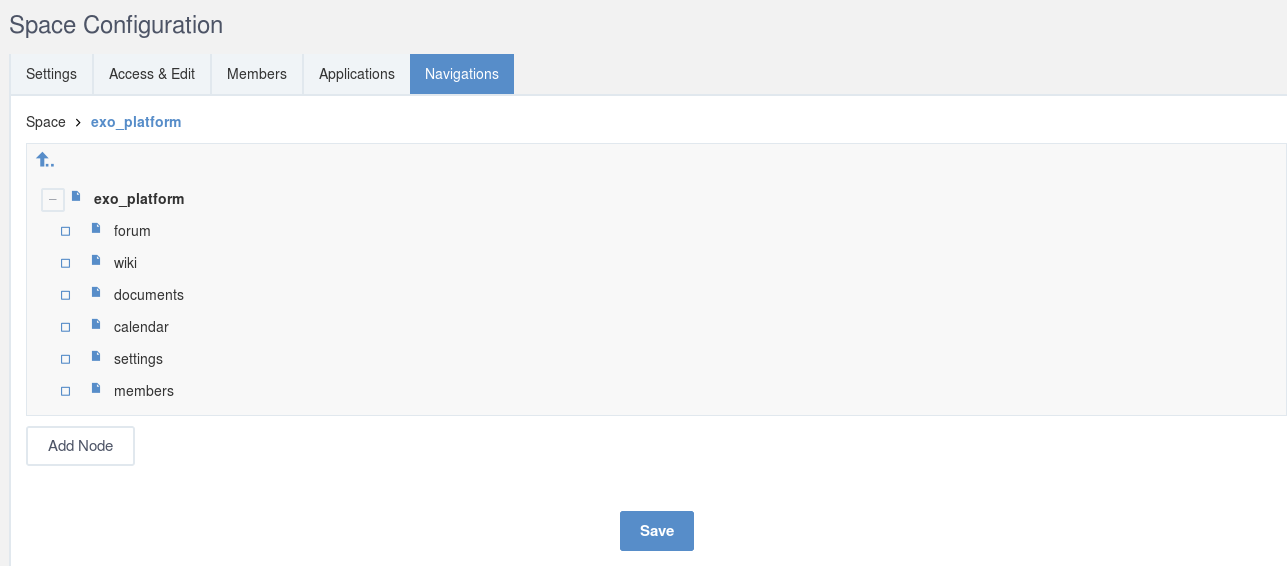
Managing space navigation bar
Each space is featured with some “pages” on the space navigation bar. These pages may contain applications or any content. By clicking on each page, you will be redirected to it.
Also, you can easily manage these pages on the space navigation bar through actions on the relevant navigation nodes. To do so, in Space Settings, select the Navigations bar, then right-click the relevant navigation node. See Managing navigation nodes for more details.
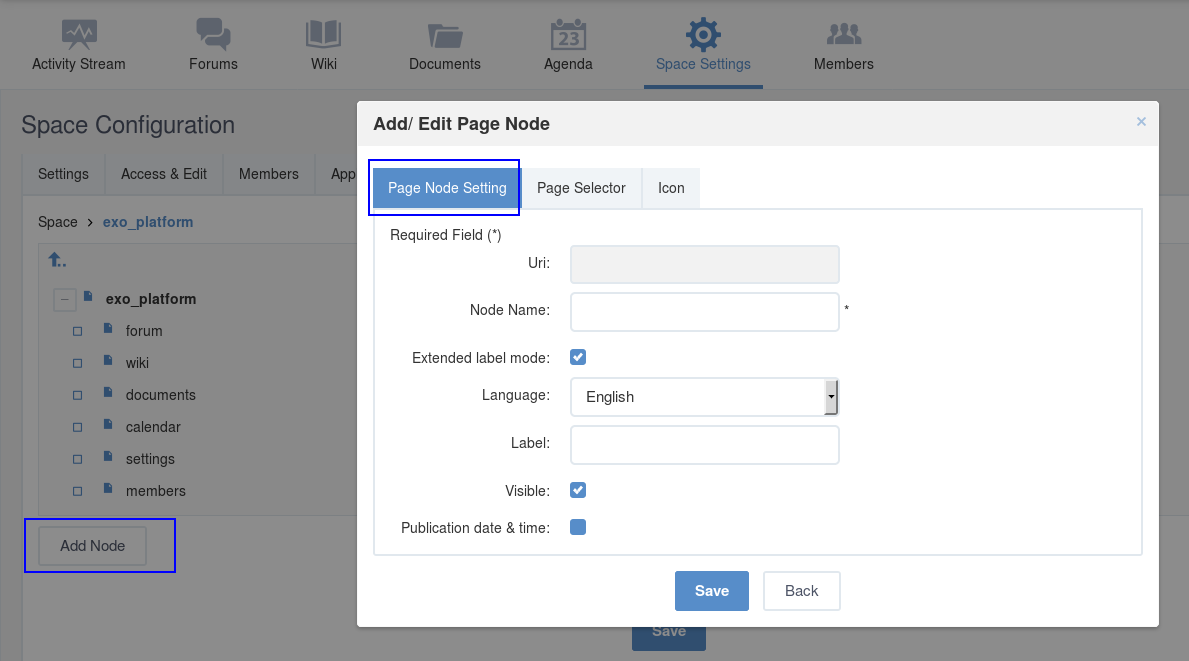
Creating a space page
To create a page that is accessible on the space navigation bar, simply add a navigation node that links to your desired page in the Page Selector tab. See Adding a new node for more details.
Also, you can create a space page using:
- Page Creation Wizard; Or
- Pages Management. In this case, Owner Type should be group, and Owner Id should be /spaces/[space_node_name]. For example, if you want to add a page to the space named PLF team, the Owner Id should be /spaces/plf_team. Remember that in this way, you only create the space page that is still not accessible. To make this page accessible, create a node that links to this page (in the Page Selector tab).
Editing a space page
To edit this space page, simply right-click the navigation node containing the page and select Edit Node’s Page from the context menu. The Edit Page window will be displayed in the Page Properties view. See Editing a page for more details.
Removing a space page
If you right-click the node containing the page and select Delete Node from the context menu, only the navigation node linking to the page will be removed from the space navigation bar, but its page still exists. To actually delete this page, see Deleting a page.
Joining/Leaving a space
Joining a space
Go to the Spaces page and you will see All Spaces tab which displays all your spaces and ones whose Visibility is set to “Visible”.
There are two cases to join a space:
- The first instance: For spaces without validation required, click Join corresponding to your desired space. You will automatically become their members.
- The second instance: For spaces with validation required, after clicking Request to Join, you have to wait for the validation from the space’s manager who can accept or deny your request.
Revoking your request
- To revoke your request for joining a space that has not been validated by its manager, simply click Cancel.
Leaving a space
- To leave a space, simply click Leave.
If you are the only leader of that space, the message which informs that you cannot leave a space will appear as below.
Deleting a space
Only the space managers have permission to delete their spaces.
- Open the Spaces pages, then select the All Spaces or My Spaces tab.
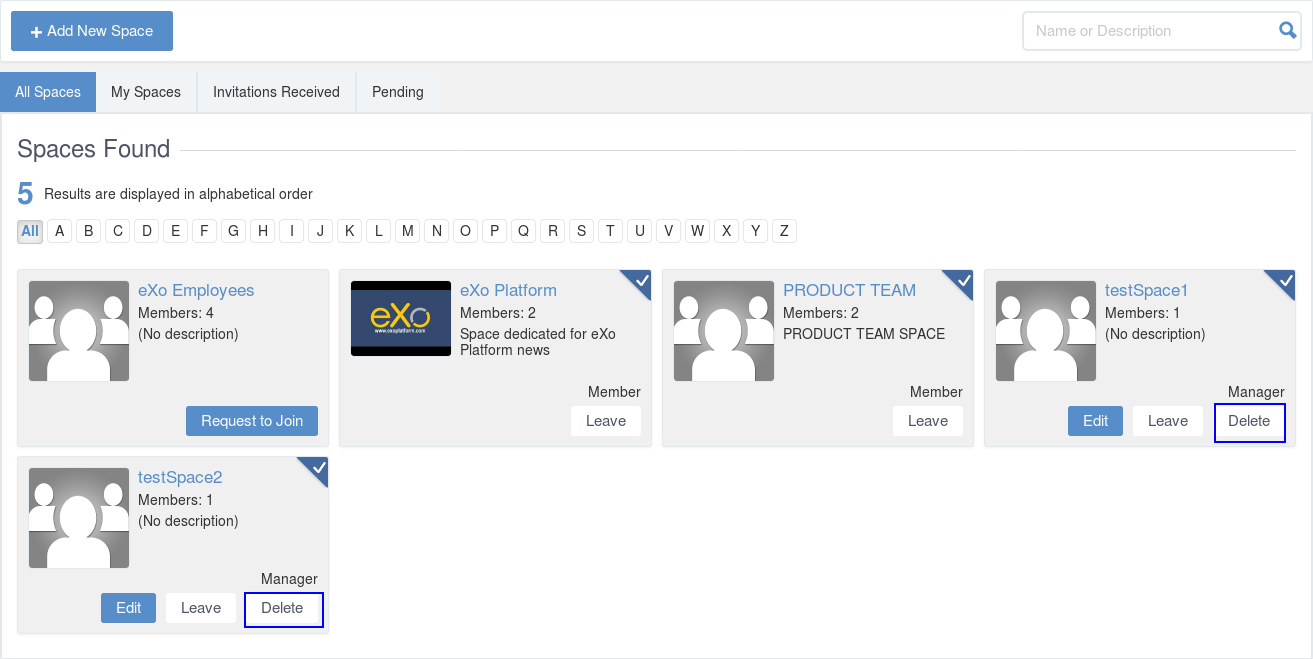
- Click Delete under the space name which you want to delete.
- A confirmation message appears:
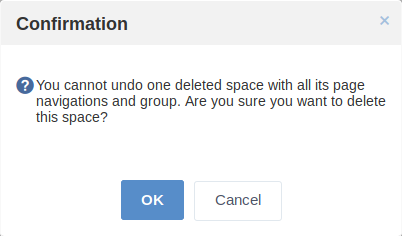
- Click OK in the confirmation message to accept deleting the space.
Note
When a space is deleted, all information, contents (documents, tasks, events…) and navigations related to that space are also deleted.
If you click on Cancel button of the confirmation message, nothing happens.
Accepting/Ignoring invitations
This function allows you to accept and/or deny invitations that you received from others. You can see all spaces which are being waited for your acceptance in the Invitations Received tab, or in the Invitations application in the right pane of the Intranet homepage.
To accept/ignore the invitations via the Invitations application, see here for more details.
To accept/ignore the invitations in the Invitations Received tab, do as follows:
- Open the Invitations Received tab in the Spaces page.
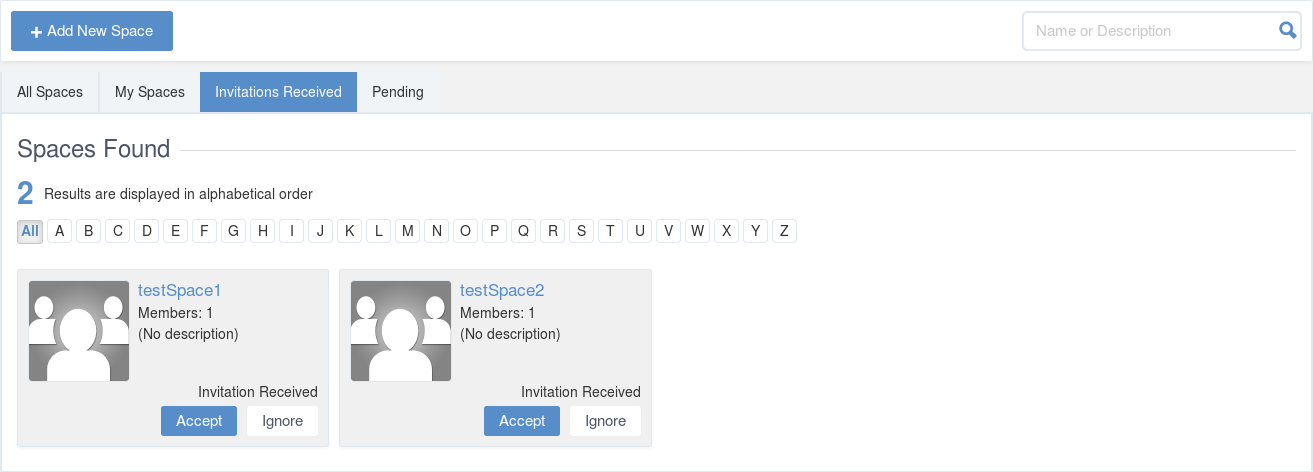
- Click Accept/ Ignore corresponding to your desired space to accept/deny joining the space respectively.
Sharing in Space
To share an update, a document or a link in a space, you must be a member first. Then follow these steps:
- Access to the space in which you want to publish a post.
- Point to the space’s activity stream.
- Compose your text message or upload documents or attach a link in the activity composer. It is same as Sharing in activity stream.

- Finally click on Post to share the status.
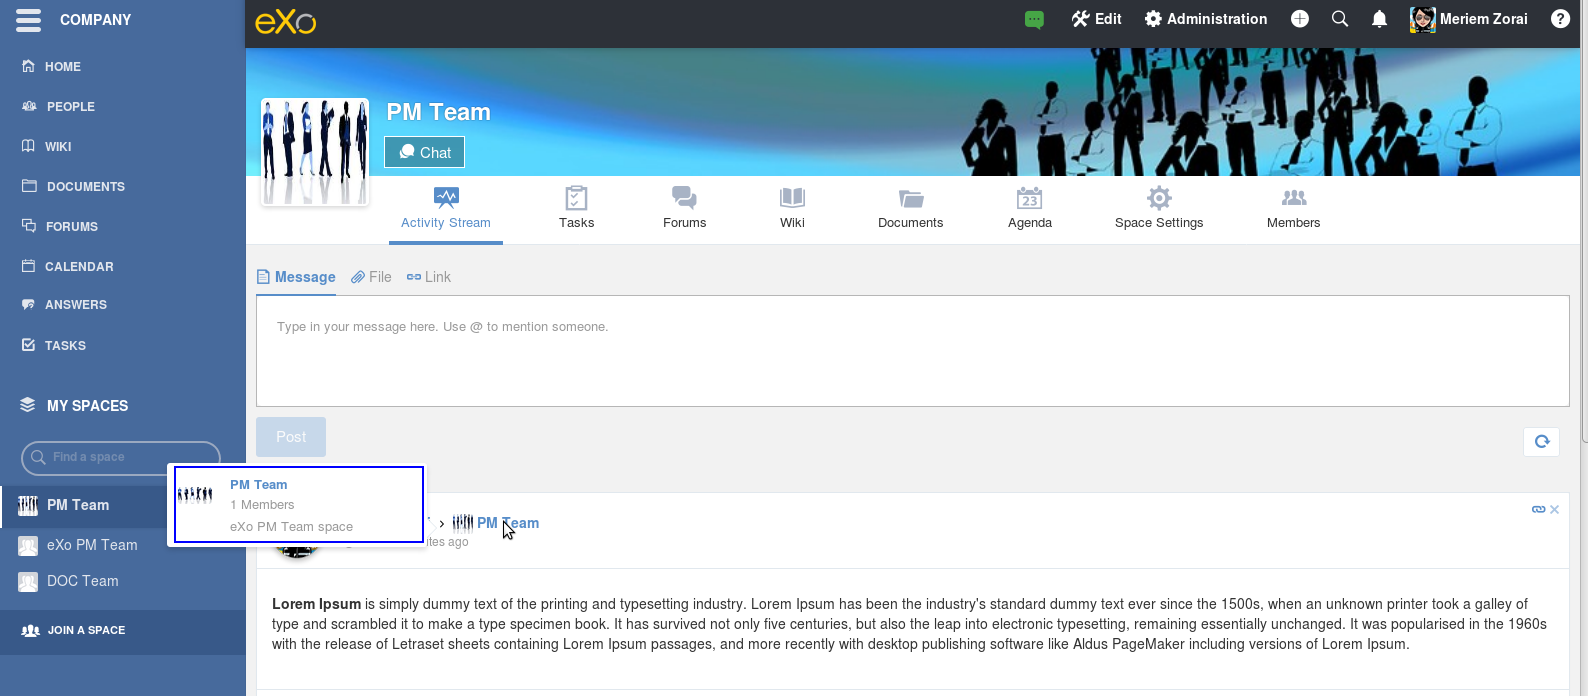
When you mouse over the space name from the post, a popover is displayed with the space name, the space avatar and the space description.
If you are a member in the space and not an administrator or creator, in addition to the previously cited components, a Leave button is displayed in the popover allowing you to leave the space and Chat button allowing you to start a discussion with the space members.
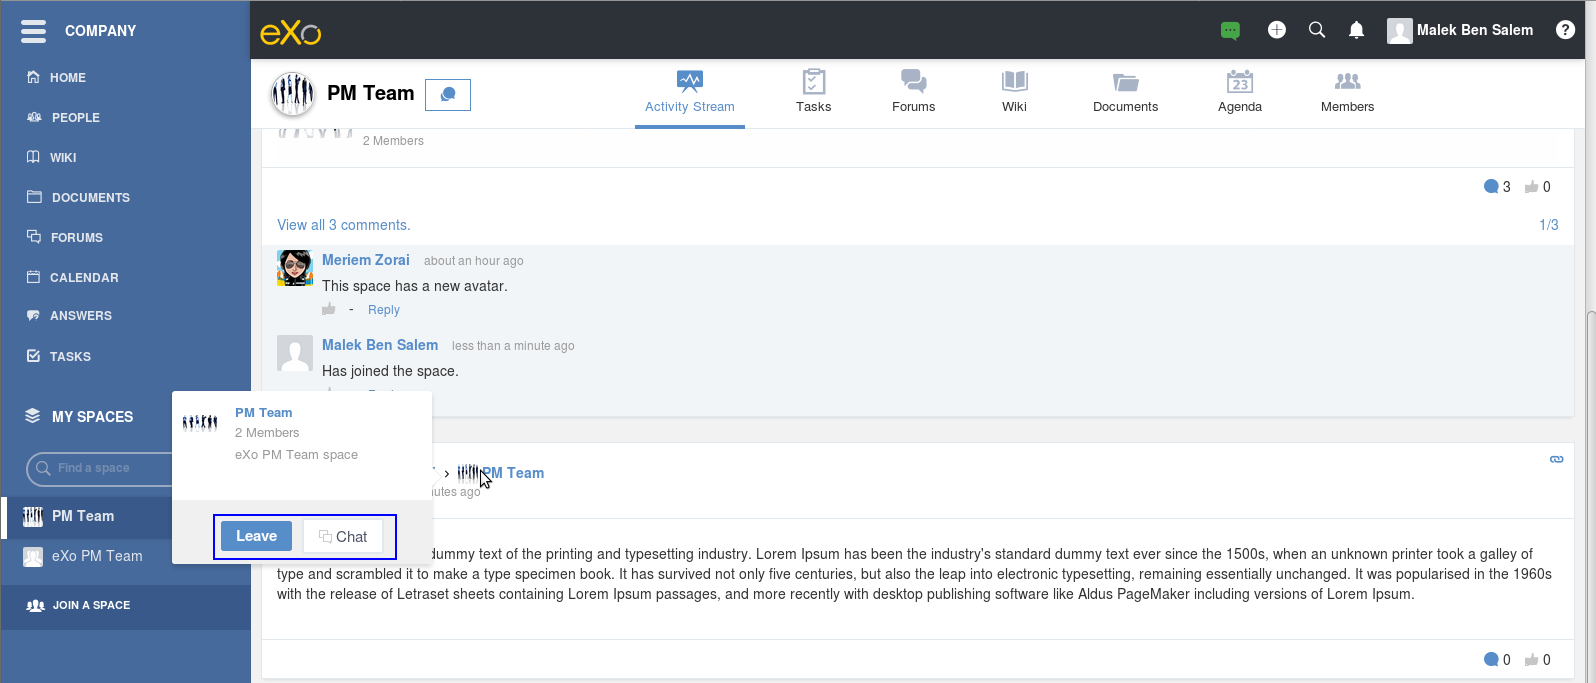
Once you leave the space, you will not be able to see any activity, nor receiving notifications of your former publications on this space
Only the space managers and authors of the posts can delete the activities by clicking on the delete (1) icon in the corner. All notifications related to that deleted activity in the space are also deleted.